Keeping your chainsaw sharp is essential for efficient and safe cutting. While traditional sharpening methods involve manual files or specialized tools, you can also sharpen a chainsaw with a drill for a faster and more convenient approach. This guide will walk you through how to sharpen a chainsaw chain with a drill, including the best techniques, tools needed, and safety precautions.
Why Sharpen a Chainsaw with a Drill?
Sharpening a chainsaw manually can be time-consuming, especially if the chain is heavily worn. Using a cordless drill speeds up the process while maintaining precision. Here’s why this method is beneficial:
- Faster than hand-filing – A drill-powered sharpener saves time.
- Consistent results – Ensures even sharpening across all cutters.
- Portable & convenient – Great for fieldwork or quick touch-ups.

Tools Needed to Sharpen a Chainsaw with a Drill
Before starting, gather the following:
- A cordless drill (or electric drill with a low-speed setting)
- A chainsaw sharpening bit (compatible with your chain’s pitch)
- A file guide (helps maintain the correct angle)
- Safety gloves & goggles
- A chainsaw vise or clamp (to secure the chain)
- Lubricating oil (for smoother sharpening)
Pro Tip: You can find affordable chainsaw sharpening drill bits at Home Depot or Amazon.
Step-by-Step: How to Sharpen a Chainsaw Blade with a Drill
Step 1: Secure the Chainsaw
- Clamp the chainsaw bar in a vise to prevent movement.
- Ensure the chain is taut but still movable for sharpening.
Step 2: Identify the Correct Sharpening Angle
- Most chainsaws require a 25° to 35° filing angle.
- Check your chainsaw’s manual for the exact angle.
Step 3: Attach the Sharpening Bit to the Drill
- Insert the chainsaw sharpening bit into the drill chuck.
- Set the drill to a low speed (high speeds can overheat the metal).
Step 4: Begin Sharpening Each Cutter
- Place the bit against the first cutter at the correct angle.
- Apply light pressure and grind for 2-3 seconds per tooth.
- Move evenly along the chain, maintaining the same number of strokes per tooth.
Step 5: Check for Consistency
- After sharpening one side, rotate the chainsaw and repeat on the opposite side.
- Ensure all teeth are uniformly sharp to prevent uneven cutting.
Step 6: Lubricate and Test the Chain
- Apply chainsaw oil to the chain to reduce friction.
- Test the chainsaw on a small log to ensure smooth operation.
Common Mistakes When Sharpening a Chainsaw with a Drill
- Overheating the chain → Use short bursts and let the metal cool.
- Inconsistent angles → Use a file guide for accuracy.
- Skipping teeth → Sharpen every cutter for balanced performance.
Alternative Methods to Sharpen a Chainsaw Chain
If you don’t have a drill, consider these options:
- Hand filing – Slow but precise. (Husqvarna Filing Guide)
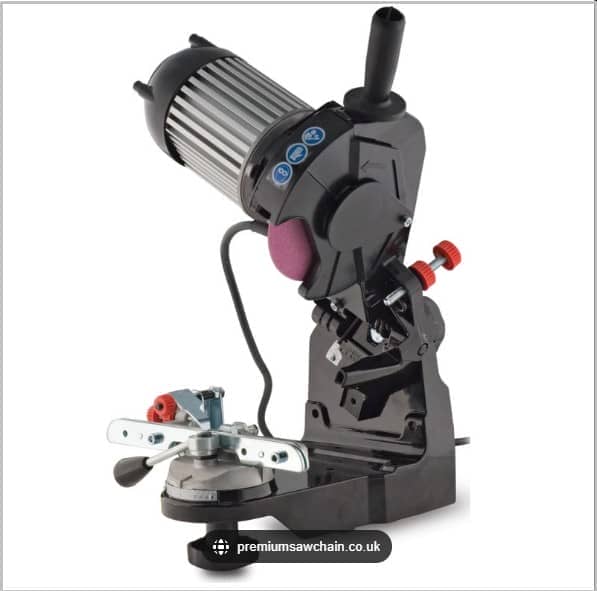
- Electric sharpeners – Faster than a drill but less portable.
- Professional sharpening – Best for heavily damaged chains.
Safety Tips for Sharpening a Chainsaw
- Always wear cut-resistant gloves and safety goggles.
- Work in a well-lit, stable area.
- Never force the drill—let the bit do the work.
Conclusion
Learning how to sharpen a chainsaw with a cordless drill can save time and effort while keeping your chainsaw in top condition. By following these steps, you’ll ensure a sharp, efficient chain for smoother cutting and longer tool life.
Need a sharpening bit? Check out options at Home Depot or Northern Tool.


