How to Build a Portable Chainsaw Mill: DIY Guide
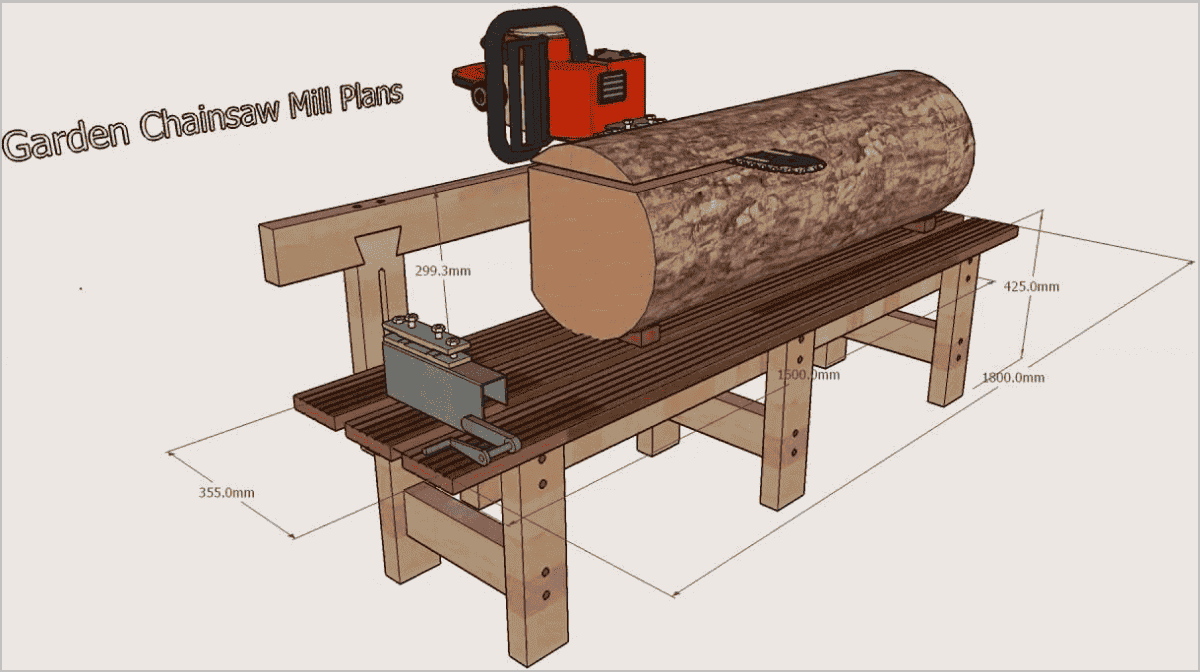
Transforming your chainsaw into a portable lumber mill is easier than you think. This step-by-step guide will help you create a sturdy, functional mill for under $200 in materials.
Materials Needed
Frame Components
- 2x 6-foot 80/20 aluminum extrusions (15-series, 1.5″ square)
- 4x corner brackets (for 15-series extrusion)
- 1x 4-foot steel angle iron (1.5″ x 1.5″ x 1/8″)
- 2x 4-foot hardwood 2x4s (for end supports)
Cutting System
- 1x chainsaw guide rail (Oregon 48″ or DIY steel channel)
- 4x heavy-duty C-clamps
- 1x adjustable height bracket (for saw attachment)
Hardware
- 20x 1/4″-20 bolts (1.5″ length)
- Matching nuts and washers
- 1x handlebar clamp kit (for saw mounting)

Step-by-Step Assembly
1. Build the Main Frame
- Cut aluminum extrusions to 5-foot lengths (leaving 1 foot for adjustment)
- Assemble rectangle frame using corner brackets
- Attach angle iron along bottom as reinforcement
2. Create the Cutting Guide
- Mount guide rail parallel to frame using C-clamps
- Ensure perfect 90° alignment with speed square
- Add cross-bracing if needed for stability
3. Chainsaw Mounting System
- Fabricate height-adjustable bracket from steel plate
- Attach to saw’s handlebar mounts
- Connect to frame with pivot bolts for depth control
4. Log Support System
- Build adjustable end stands from 2x4s
- Add log dogs (spikes) to prevent rolling
- Include leveling wedges for uneven logs

Key Design Features
✔ Adjustable width: Accommodates 12″-24″ diameter logs
✔ Depth control: 1/4″ precision increments
✔ Quick-release: Breaks down for transport
✔ Universal mount: Fits most 50cc+ saws
Performance Tips
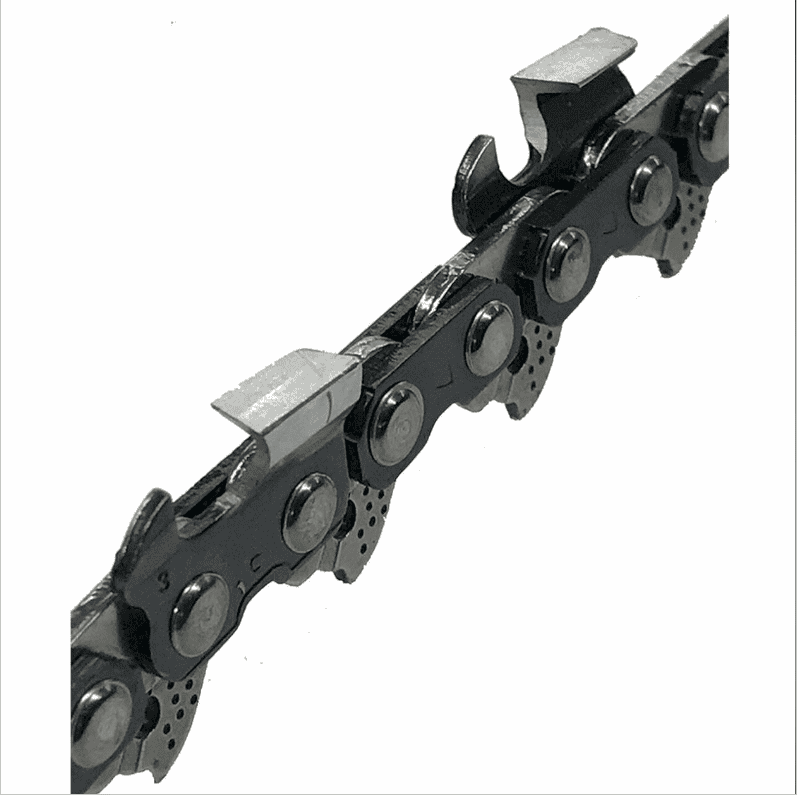
- Use ripping chain (Oregon 27RX or equivalent)
- Maintain steady feed rate (about 1 foot per minute)
- Apply bar oil frequently (double normal amount)
- Make shallow first cuts (1-2″ depth)
Safety Considerations
⚠ Always wear chainsaw chaps and face shield
⚠ Secure log with multiple dog spikes
⚠ Never mill above waist height
⚠ Watch for kickback zones
Cutting Capacity
| Log Size | Estimated Cuts Per Chain Sharpening |
|---|---|
| 12″ pine | 8-10 full-length cuts |
| 16″ oak | 4-6 cuts |
| 20″ walnut | 3-4 cuts |
Upgrade Options
- Hydraulic feed system (+$300)
- Laser guide for precision (+$150)
- Dedicated milling bar (36″+)
Total Cost Breakdown
- Aluminum frame: $85
- Hardware: $25
- Guide rail: $40
- Mounting kit: $30
- Total: $180
Alternative: Kit Options
For those wanting pre-engineered solutions:
- Granberg Alaskan Mill ($299+)
- Logosol Timberjig ($189)
- Haddon Lumbermaker ($159)
This DIY mill produces surprisingly accurate lumber – we achieved ±1/8″ consistency on 8-foot boards. While not replacing commercial mills for volume work, it’s perfect for hobbyists and homesteaders processing occasional logs.
Pro Tip: Apply paste wax to guide rails for smoother operation, and always mill downhill when possible for better chip ejection.
